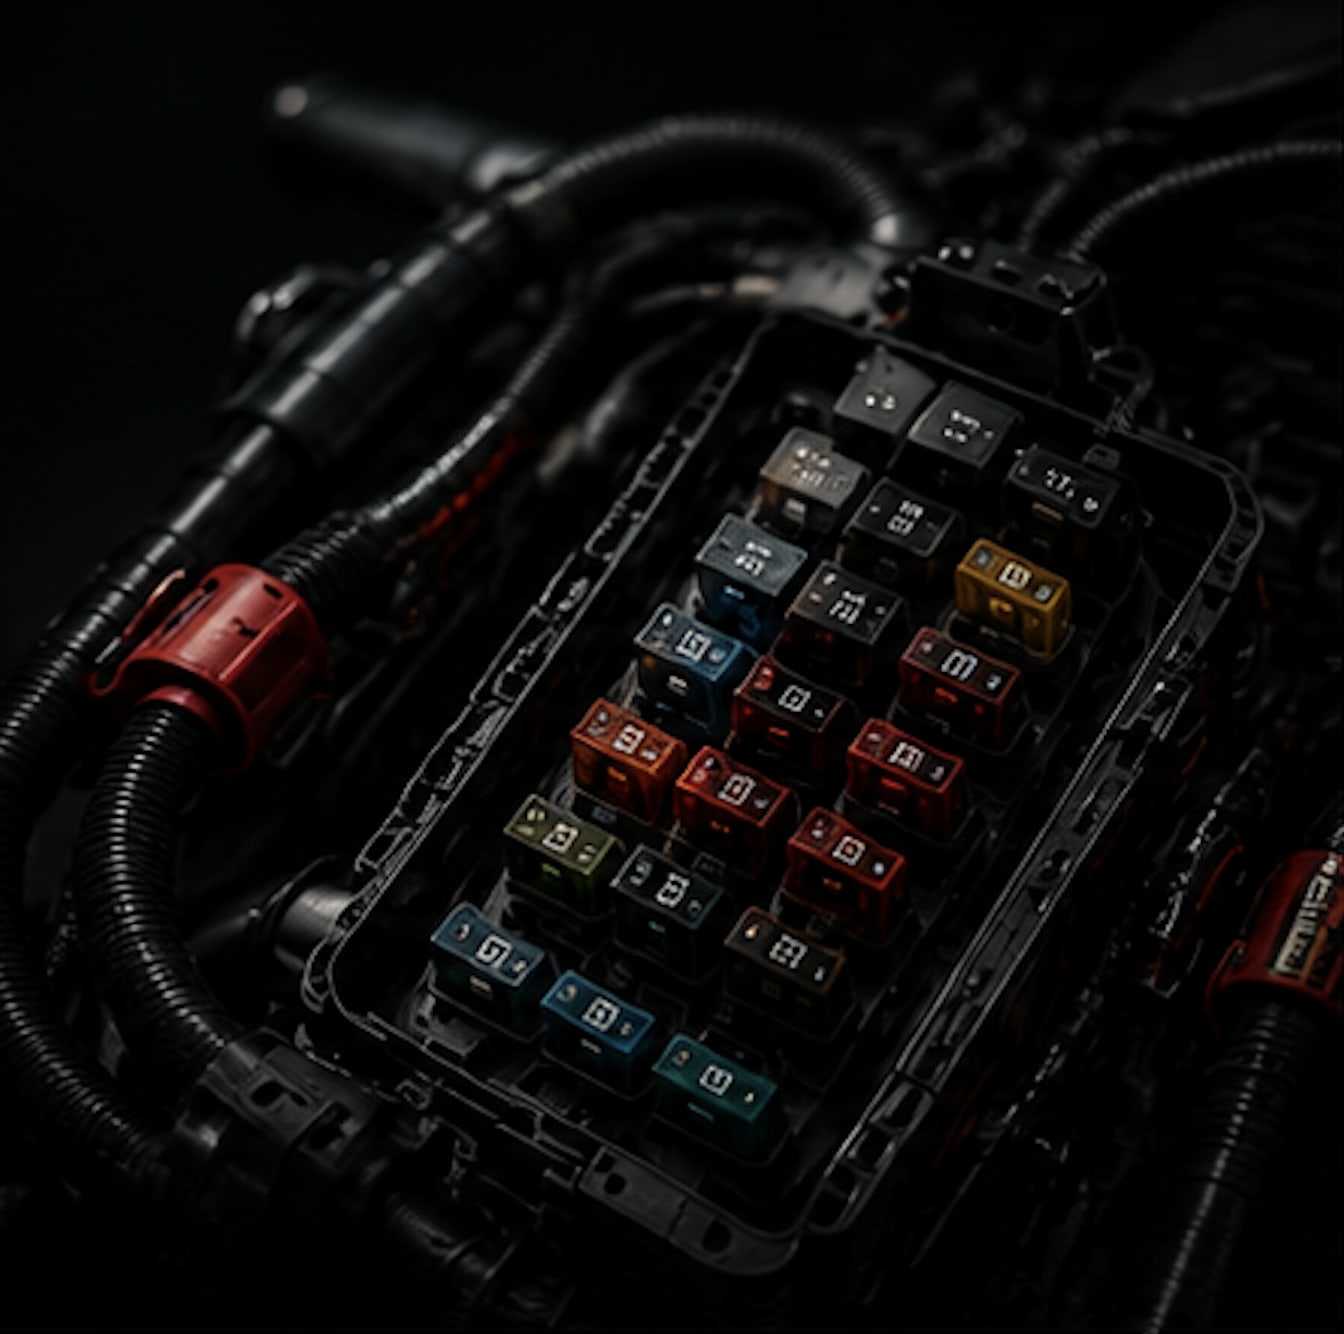
Why a Fuse Box Changes Everything
Before this mod, every electrical addition meant tapping directly into existing wires — messy, risky, and hard to trace when things go wrong. A dedicated auxiliary fuse box gives you multiple independent fused circuits with a single clean connection to the battery. It's the correct way to build up your bike's electrical system.
After doing the hazard mod and volt meter the "direct tap" way, I realised I was making a mess. The fuse box was the thing I should have done first — and every mod after it was cleaner for it.
The Install Process
Where to Buy
// Shopping Links
Parts Required
// Bill of Materials
- Waterproof blade fuse block (6 or 12 way — get more than you think you need)
- 14AWG or 12AWG red wire (for positive feed, ~1 metre)
- Inline fuse holder + 20A or 25A main fuse
- Black wire for common ground return
- Ring terminals, butt connectors, heat shrink
- Cable labels or masking tape for marking circuits
Real World Notes
This is the first mod you should do if you plan to add any electrical accessories to your bike. Full stop. It costs around $15–30 for the fuse block and components, and it gives you a professional, organised foundation for everything that follows.
With a proper fuse box, each accessory gets its own circuit and its own fuse. If one thing blows, only that circuit goes down — not everything at once. It also makes troubleshooting 10x easier. Do this first. Thank yourself later.
Detailed Field Notes: Fuse Box Build
Mod Classification: Electrical / Foundation
[WIRE GAUGE] Use the correct wire gauge for the total load. If you plan to run 4 circuits each drawing up to 5A, your feed wire needs to handle 20A+. Undersize the wire and you get heat buildup and potential fire. Oversize is always safer.
[SWITCHED VS PERMANENT] You can tie the fuse box feed to an ignition-switched source so everything cuts off with the key. Alternatively, run always-on for accessories like USB chargers that you might use without the engine. Consider splitting across both depending on your needs.
[LABELLING] Label every single circuit slot before you use it. Future-you will be extremely grateful when troubleshooting or adding new mods six months later.
[WATERPROOFING] Even "waterproof" fuse blocks benefit from a wrap of self-amalgamating tape around the main connectors. Singapore rain is brutal and water ingress into electrical connections is the #1 cause of issues down the road.
Final Assessment
- Difficulty: 2/5 — Planning the layout is the hardest part
- Time Required: ~2–3 hours including planning and routing
- Would Recommend: Do this first before any other electrical mod