The DIY
Setup
Home Garage Kit
Allen keys, crimpers, heat shrink butt terminals — and two specific material upgrades most riders get wrong. The list you need before you touch the bike.
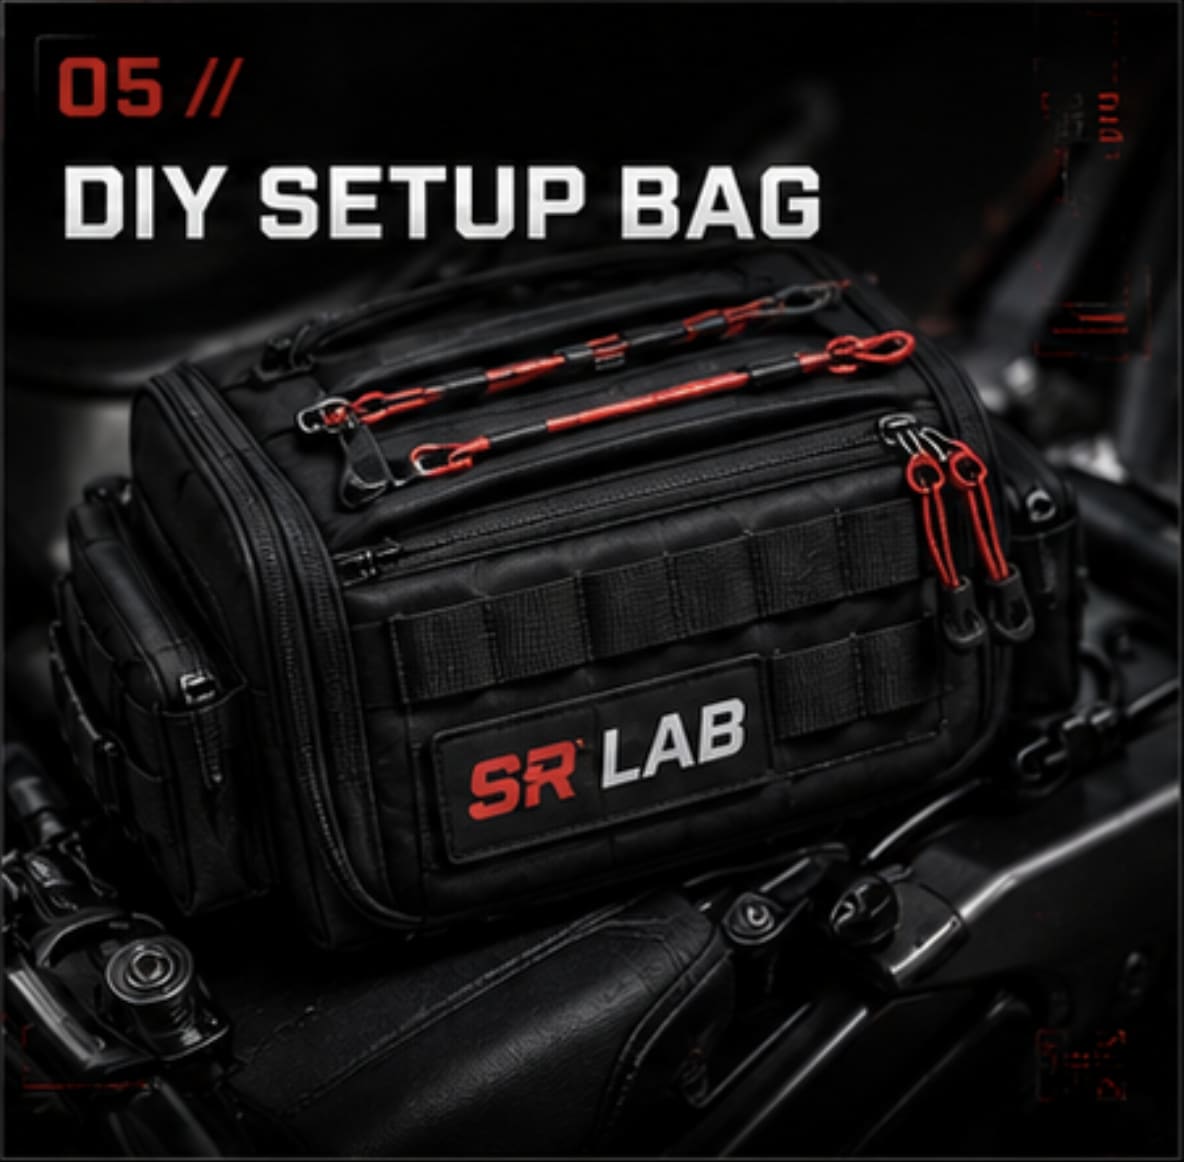
On-Bike Emergency Bag
Always on the bike. Tyre plugs, spare fuses, cable ties. The kit that gets you home at 11PM on the roadside without waiting for a tow.
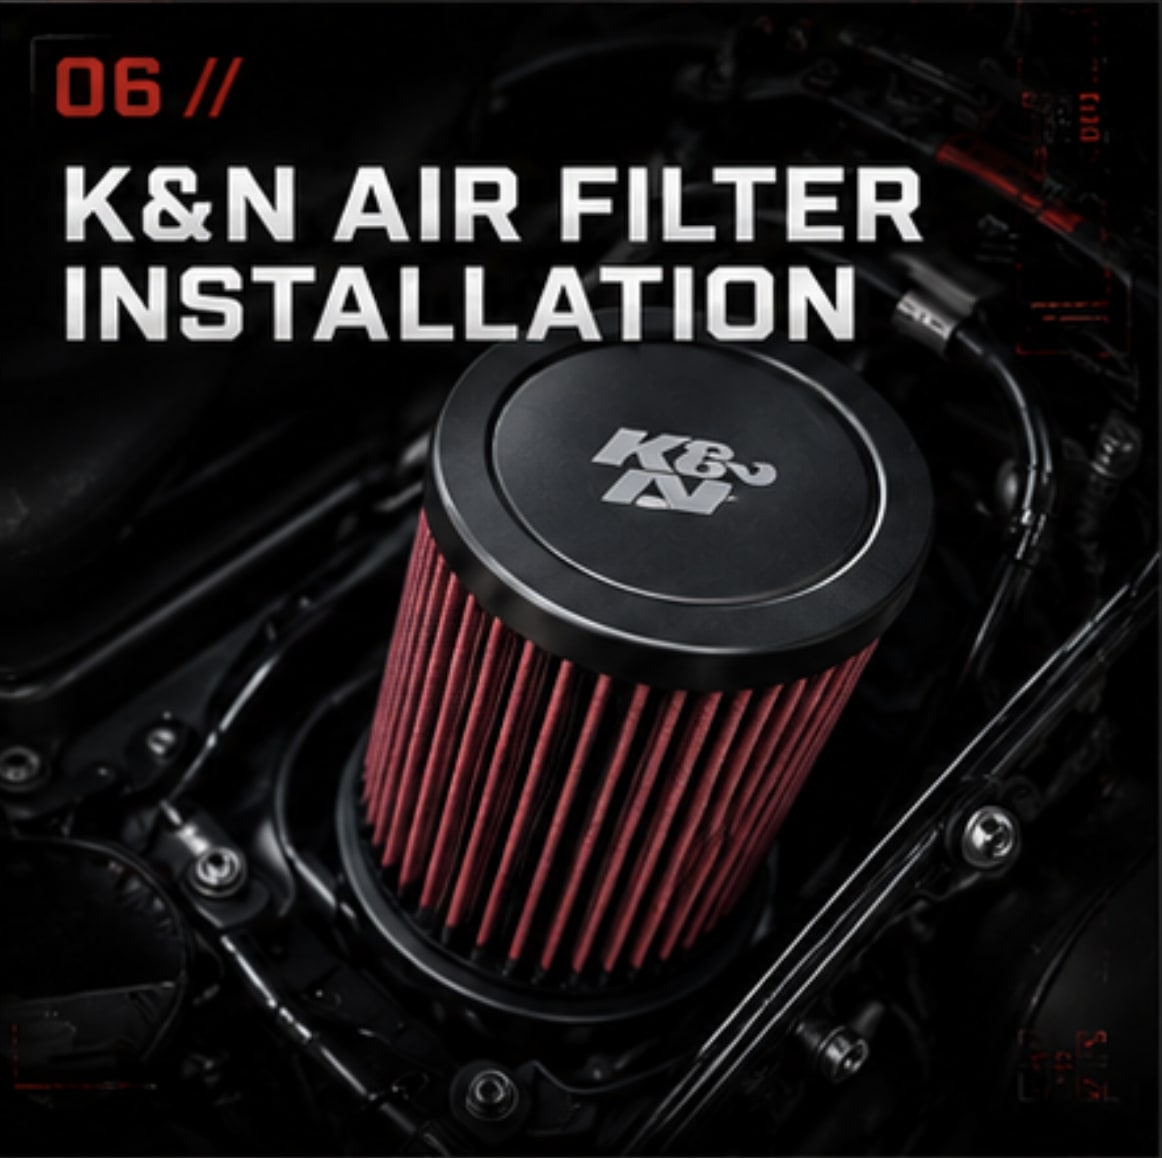
K&N Air Filter
Upgrade
Never Replace It Again
Cotton gauze, oiled. Flows better than stock paper. When dirty: clean and re-oil — don't bin it. One purchase for the life of the filter if you maintain it right.
The Over-Oil Warning
Apply filter oil sparingly after each clean. Too much migrates downstream and contaminates the sensor. Two light passes — not one heavy soak. Most people get this wrong first time.
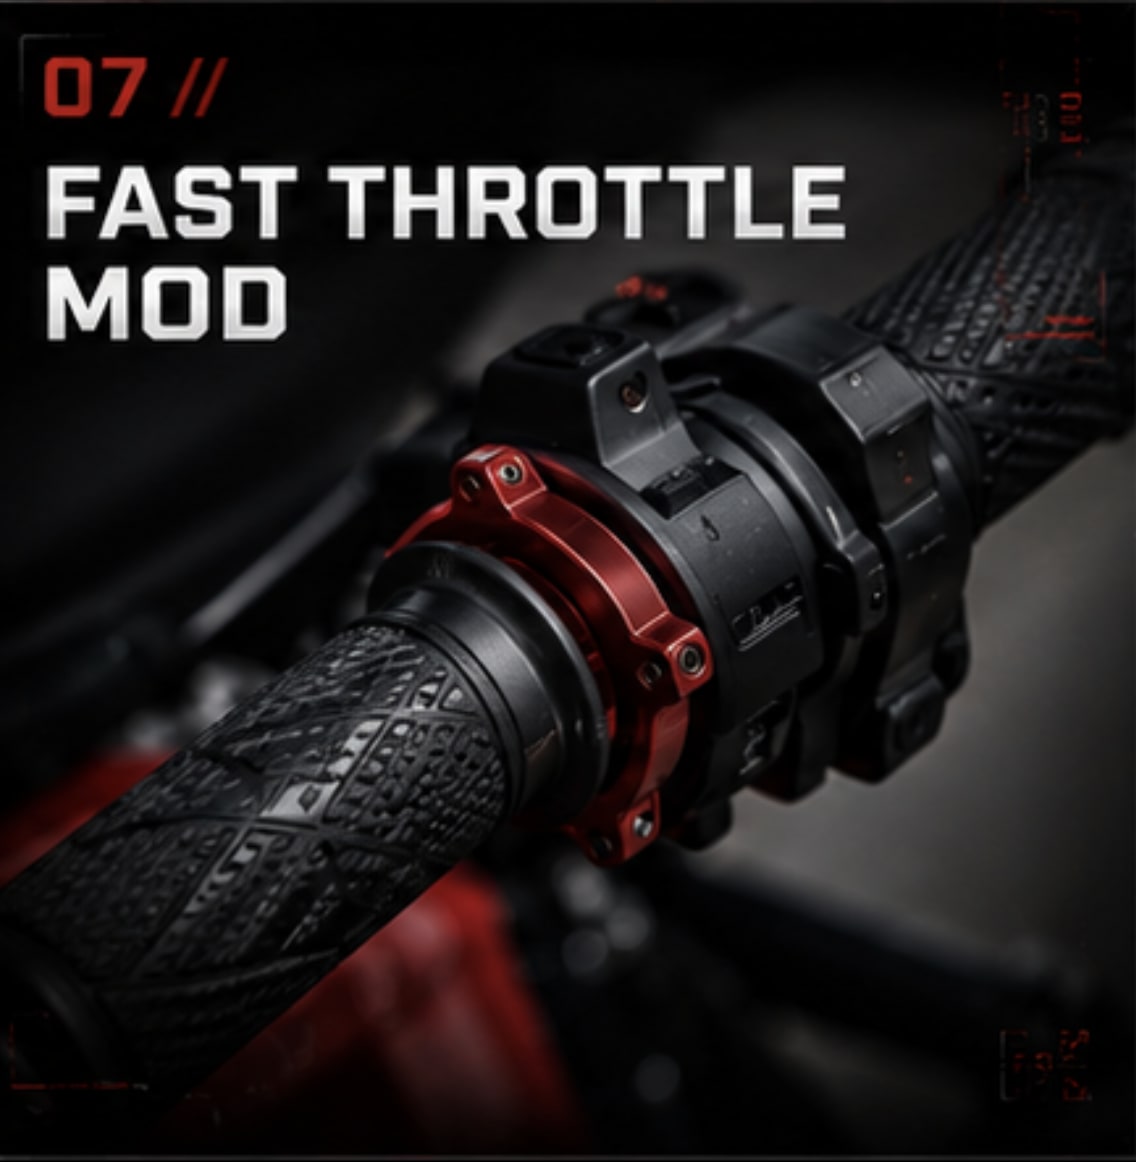
Fast Throttle
Mod
Less Wrist. More Response.
A 70° fast throttle tube cuts the stock rotation angle from 100–120°. The bike reacts sharper, the wrist fatigues less on long highway runs. Works on every class.
The Return Spring Test — Non-Negotiable
Engine on. Full lock left, full lock right. Throttle must snap to idle instantly both ways. If it sticks even slightly — stop. Re-route the cable before you move anywhere.
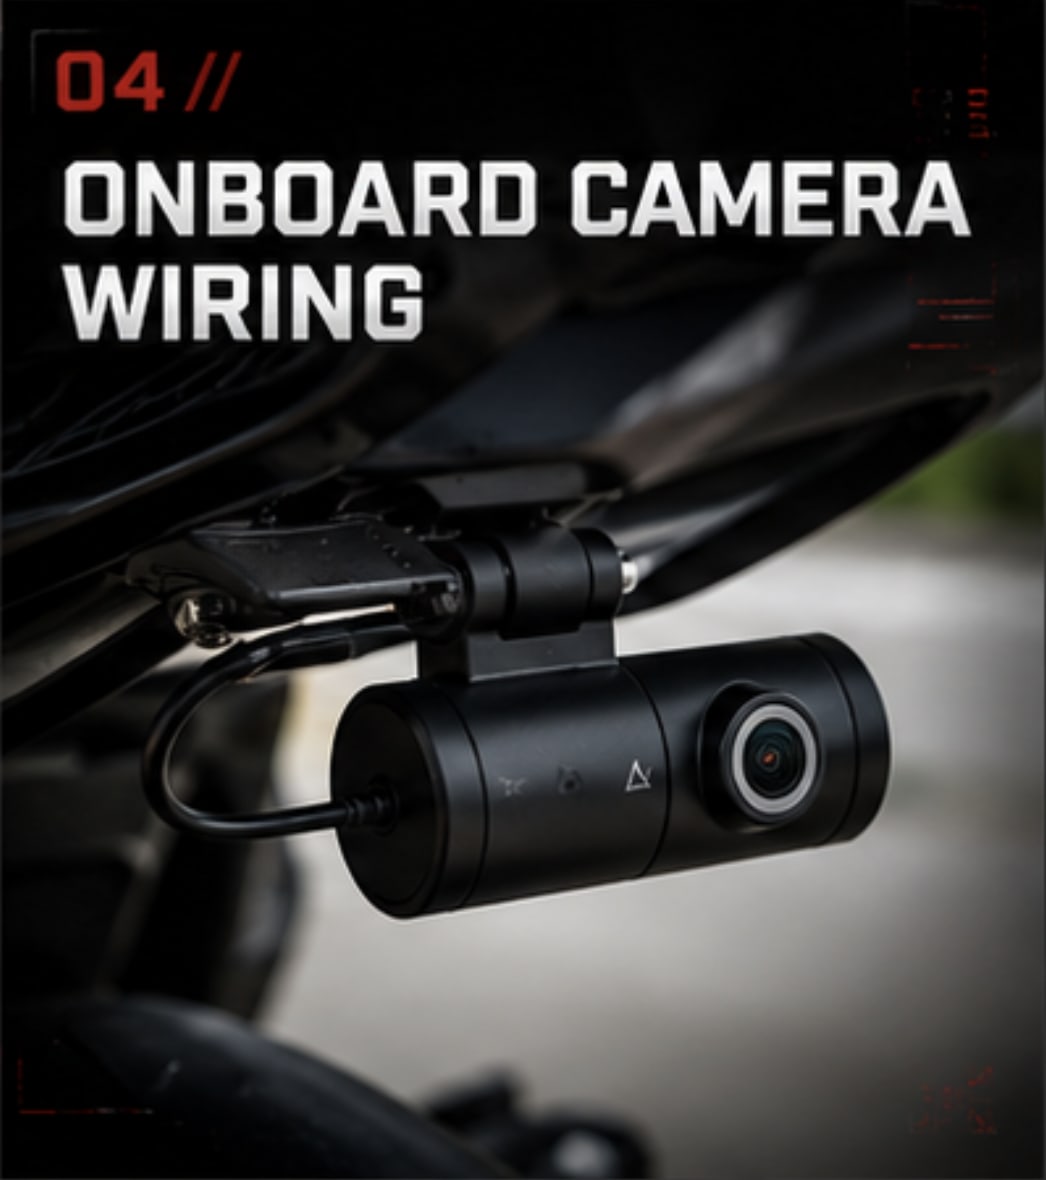
Bike Camera
Installation
Hardwired. Clean. Always On.
Front and rear wired to an ignition-switched circuit. Powers up with the key, loop records continuously. The footage is there when you need it — you don't manage anything.
Get a High-Endurance SD Card
Regular cards die fast from constant write cycles. Dashcam-rated, Class 10 minimum. A camera that's silently been recording to a dead card is worse than no camera at all.
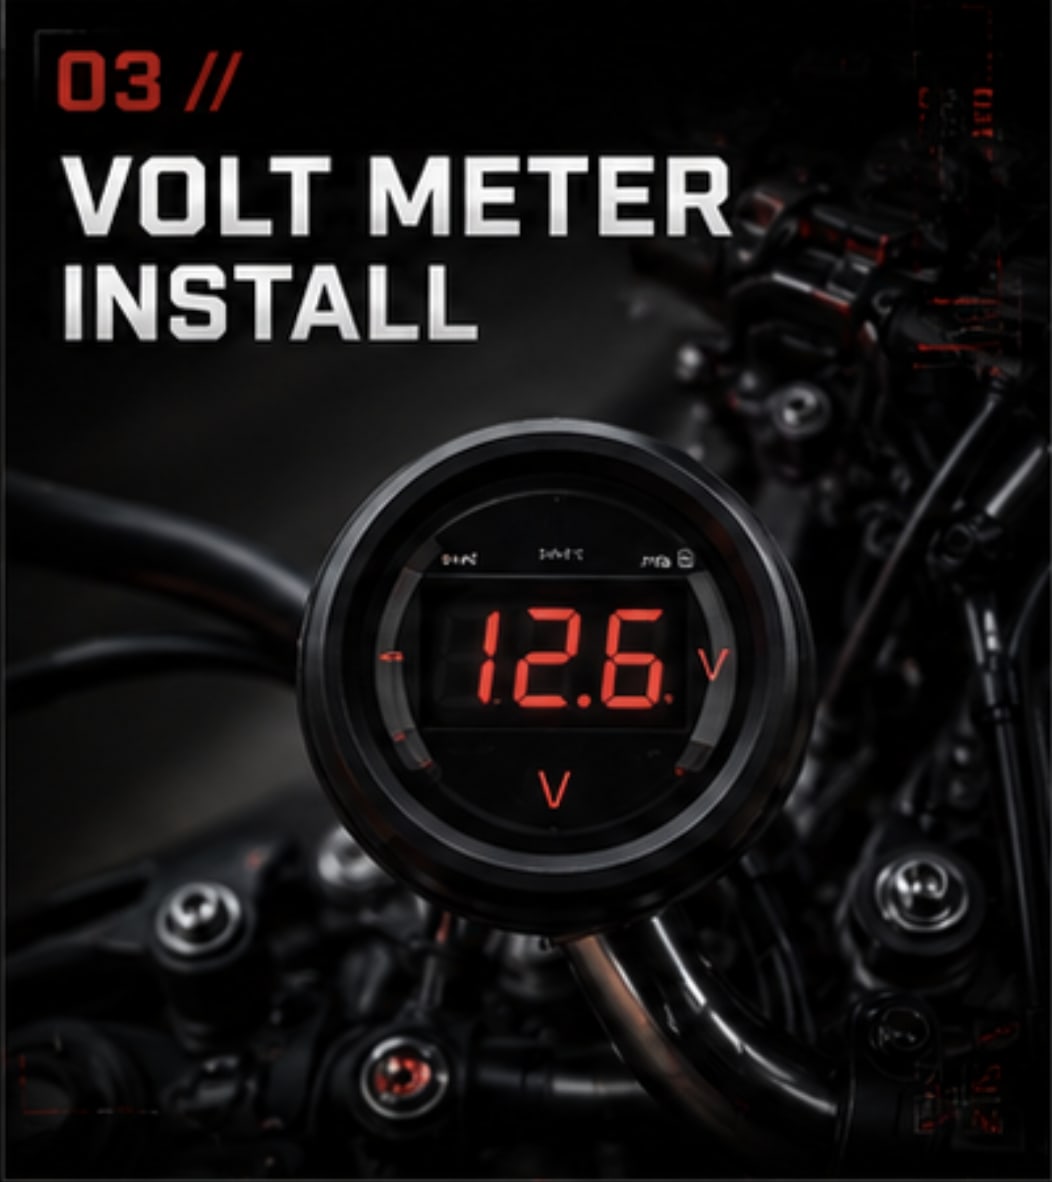
Volt Meter
Installation
Under $5. Under an Hour.
Real-time battery voltage on the dash. At idle: 12.5–13V. Engine running: 13.5–14.5V. Anything outside that range, you know before it becomes a problem on the roadside.
Wire It Ignition-Switched
Tap a circuit that cuts with the key. A meter drawing continuously from the battery overnight defeats the entire purpose of installing it.
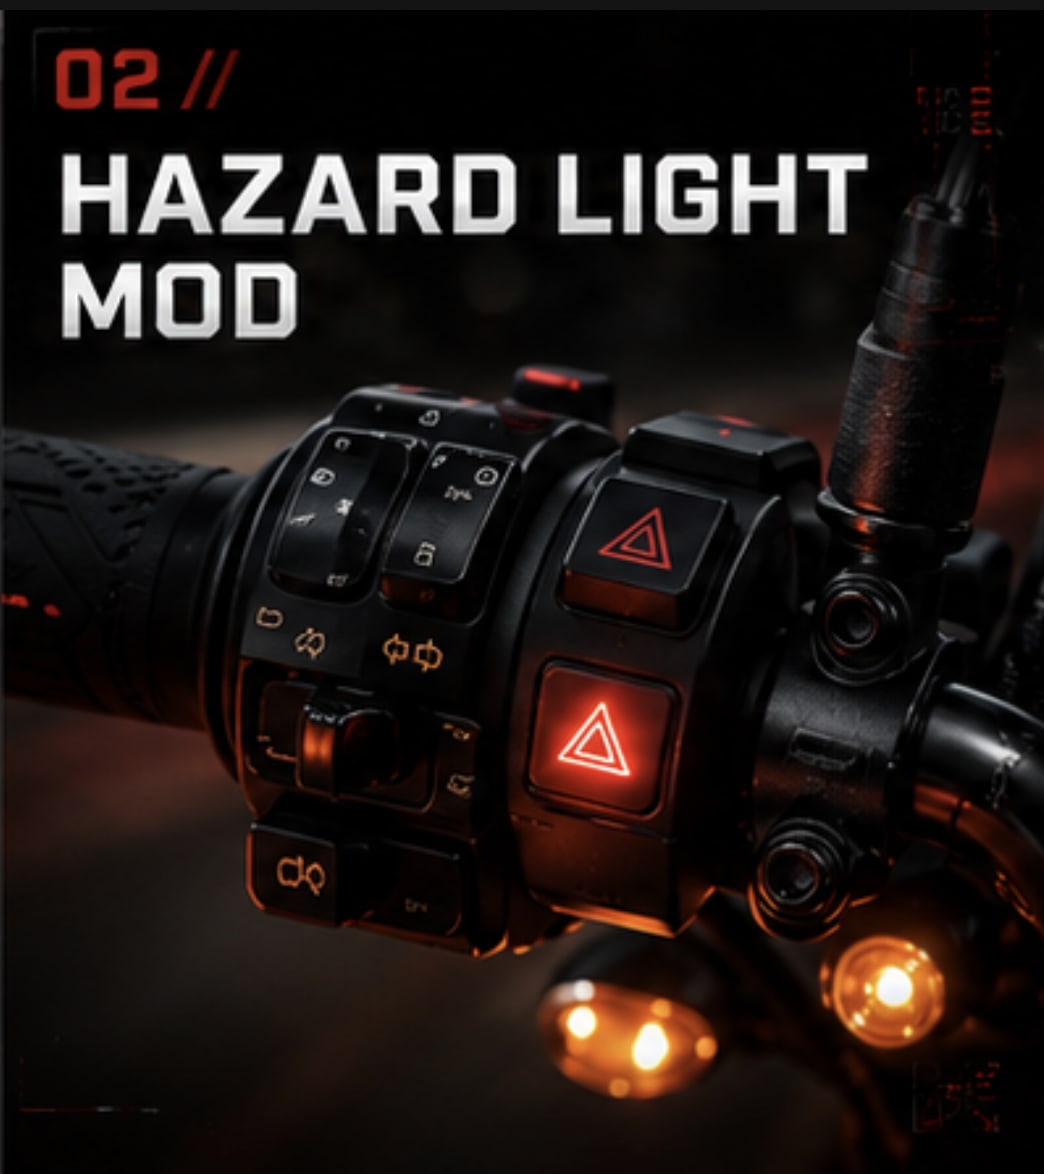
Hazard Light
Mod
What the Workshop Wanted Hundreds For
A relay, a switch, some wire — both indicators flash simultaneously. Parts cost: under $15. The gap between what a workshop quotes and what it actually costs pushed me deep into DIY.
Always Wire Through a Relay
Don't splice directly into the indicator wires. The relay isolates your circuit from the factory wiring and protects the OEM flasher relay from overload. No relay — no mod.
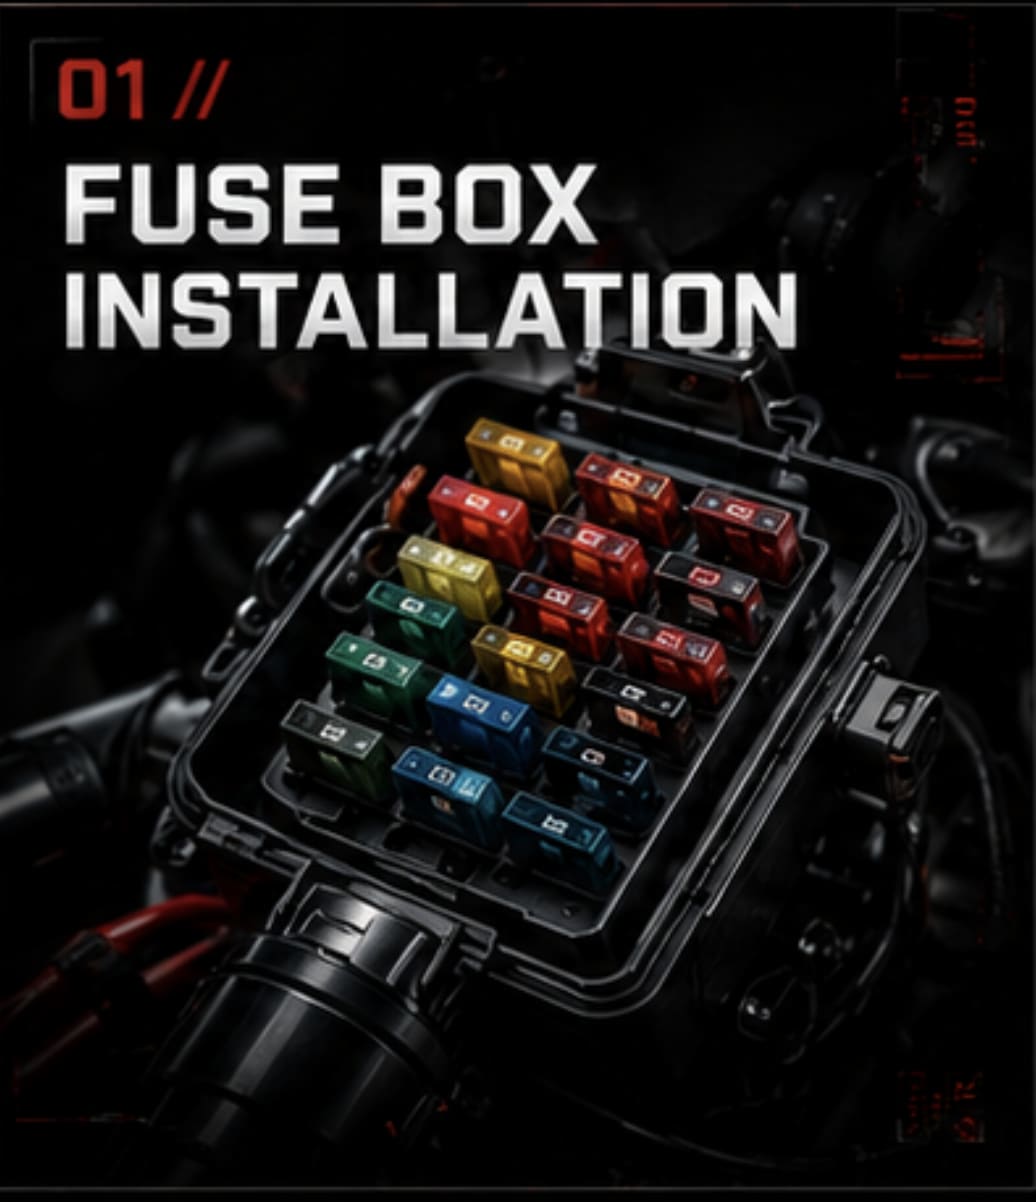
Auxiliary
Fuse Box Install
One clean feed from the battery. Multiple independent fused circuits — camera, volt meter, USB charger, hazard mod, all protected separately. This is what every electrical add-on should be wired through. Do this before any other electrical work and everything downstream becomes cleaner, faster, and easier to fix.
One Main Fuse. Many Clean Circuits.
A single 12AWG feed, master-fused within 30cm of the battery. Everything downstream gets its own slot. One thing blows — only that circuit goes dark. Nothing else affected.
Label Every Slot at Install Time
Six months from now you will not remember which circuit is which. Label before you button everything up. Future-you will be grateful at the next troubleshoot session.
The Mod I Should Have Done First
Did the hazard mod and volt meter with direct taps. Made a mess. Retrofitted the fuse box and rewired everything. Every mod after it was cleaner. Should have been Log #001.
// End of SR Lab Archive — v1.0
More mods will be added as they get properly documented.
If it hasn't been done on a real bike with real tools, it doesn't make this list.